
Receiver Blueprinting Explained: The Foundation of a Precision Rifle
Jeremy Walberg Jun 25, 2026
Receiver Blueprinting Explained: The Foundation of a Precision Rifle
Receiver blueprinting is the precision-machining process that turns a factory action — typically a Remington 700 or 700-clone — into a true platform for a precision build. Factory actions ship with measurable tolerances on every surface that fits the barrel, the bolt, and the receiver face to one another. Blueprinting brings those tolerances down to the same level a custom action ships with from the factory. If you’re building a precision rifle on a 700-pattern action, blueprinting is the first thing the gunsmith does and everything else fits to the result.
What blueprinting actually involves
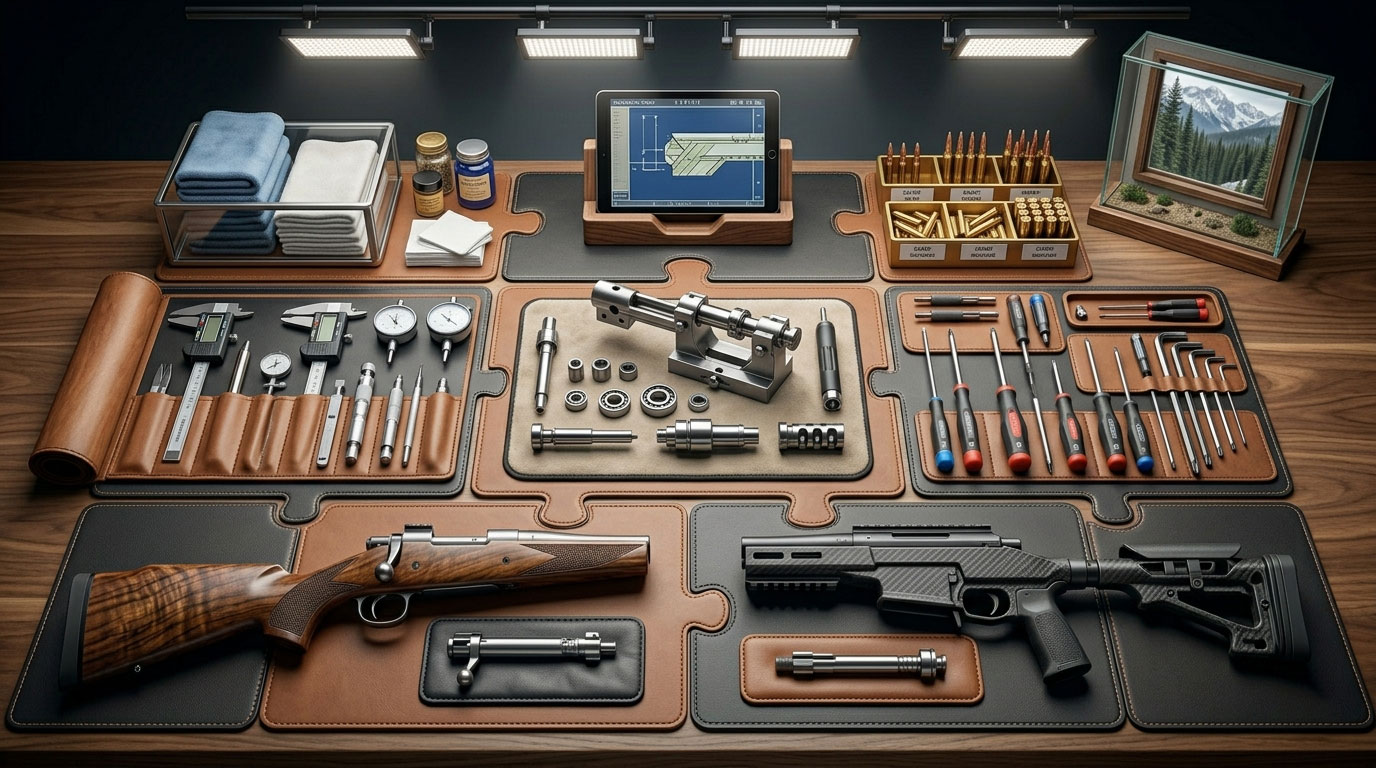
A complete blueprinting job covers six surfaces:
- Truing the receiver face — the front face where the barrel shoulders against the action. The face is faced square and perpendicular to the bore axis on a lathe
- Recutting the receiver threads — the internal threads where the barrel screws in. The threads are recut concentric to the bore axis, removing the small offset that’s almost always present from factory
- Truing the bolt face — the surface that contacts the case head. The bolt face is faced square to the bolt’s central axis so the round seats consistently every shot
- Lapping the lug abutments — the surfaces inside the receiver that the bolt lugs contact at lockup. Most factory actions have one lug carrying more load than the other; lapping equalizes the contact
- Indicating and counterboring the receiver face for the recoil lug — ensures the recoil lug seats square and that the barrel-action interface is solid
- Truing the bolt body — sometimes done; the bolt body is checked and trued to the receiver raceway for smoother operation
A fully blueprinted action is a coherent system: the barrel mates square to the receiver, the bolt closes squarely against the case head, both lugs share the load equally, and everything is rotating around the same axis as the bore.
Why it matters
A factory action’s tolerances stack up. Each individual deviation might be 0.001“–0.003”, which sounds tiny, but they add up:
- Off-axis chamber — a barrel screwed into off-axis threads has its chamber slightly tilted relative to the bore. The cartridge enters the rifling at an angle
- Off-square bolt face — the firing pin strike isn’t perpendicular to the primer. Ignition is slightly less consistent
- Uneven lug contact — under recoil, the action torques differently every shot. Group sizes open up under heavy strings
A blueprinted action removes those stacked errors. The result is a rifle that’s capable of delivering its barrel and ammunition’s accuracy potential — typically half-MOA or better — instead of being limited by the action.
Who needs it
If you’re building a precision rifle on:
- Remington 700 footprint — almost certainly yes; factory tolerances vary wildly
- Remington 700 clone (Defiance, Bighorn, Surgeon, Impact, etc.) — usually no; these arrive trued from the factory
- Tikka, Sako, Savage, Howa — these have different action designs with different precision baselines; blueprinting may or may not be applicable
- Custom action from the start (ARC Nucleus, Bighorn TL3, Defiance Deviant, etc.) — no; it’s already trued
The most common scenario is “I have a Remington 700 SPS or AAC and want to make it shoot.” Blueprinting is the foundation step before barrel work, chambering, and chassis fitting.
What it doesn’t do
Blueprinting won’t:
- Turn a bad barrel into a good barrel
- Fix poor ammunition
- Compensate for a bad trigger or a poor shooter
- Improve a custom action that’s already trued
It also doesn’t change the fundamental design of the action — a blueprinted Remington 700 is still a Remington 700, with the same lug geometry, same firing pin design, and same ergonomic baseline. Blueprinting trues the surfaces; it doesn’t redesign the rifle.
Cost and turnaround
A complete blueprinting job at a precision-rifle smith typically runs $300–$600, depending on what’s included and the smith’s hourly rate. Turnaround is usually 2–6 weeks at a busy shop, longer at the high-end smiths who book months out.
If you’re already paying for a barrel installation (chambering, fitting, threading), bundling the blueprinting in often saves money compared to sending the action in twice.
Pairs with the rest of a precision build
Blueprinting is the first machining step in a precision rifle build. The standard sequence:
- Blueprint the action
- Fit and chamber a quality barrel (Bartlein, Krieger, Proof, Hawk Hill, etc.)
- Set headspace with go/no-go gauges
- Thread the muzzle for brake or suppressor
- Bed the action into the chassis or stock, or fit it to the chassis hardware
- Mount the optic on a leveled, torqued ring/rail setup
- Function-check, zero, load-develop
Each step builds on the last. Blueprinting is what makes the barrel, optic, and ammo work to their potential.
Talk to your gunsmith first
If you’re not sure whether your action needs blueprinting, ask the smith you’d send it to. Some actions ship truer than others; some smiths can give you a measurement and a recommendation before you commit to the work. The point is to spec the build around what the action actually needs — not to pay for work that doesn’t move the needle.
For most factory Remington 700 actions on a precision build, the answer is “yes, blueprint it.” For most custom actions, the answer is “no, you’re already there.”
Related services
- Custom barrel chambering — fits the new barrel to the now-trued action
- Muzzle threading — done in the same barrel-work session
- Bolt fluting — sometimes done at the same time, since the bolt is already in the smith’s hands

Information